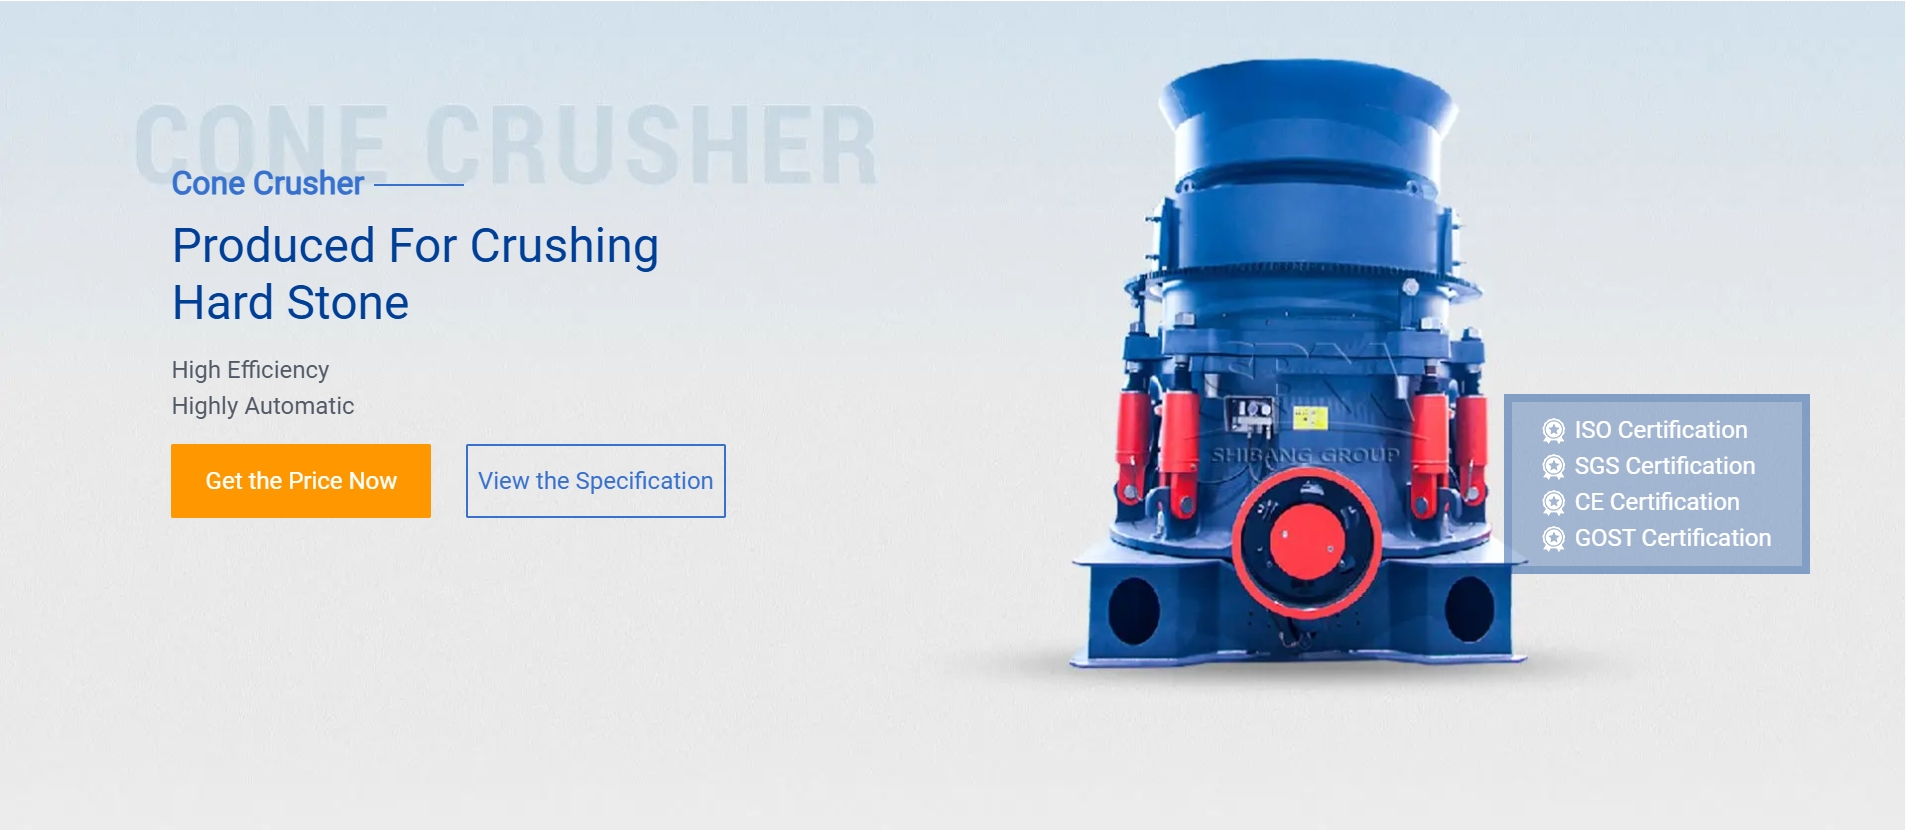

Building a small impact mill for crushing or grinding materials like grains, ores, or chemicals requires some mechanical skills and basic tools. Below is a simplified guide to constructing a DIY impact mill. This design is suitable for small-scale processing (e.g., hobbyist mineral processing, grain milling, or biomass grinding).
—
Materials & Tools Needed:
1. Motor (0.5–2 HP electric motor or gas engine)
2. Rotor Assembly:
– Steel pipe or solid steel rod (for the shaft)
– Hammers/impact bars (hardened steel or manganese steel for durability)
– Bearings (to support the rotor shaft)
3. Crushing Chamber:
– Steel drum or heavy-duty pipe (6–12 inches in diameter)
– Steel plate for the base and sides
4. Feed Hopper: Sheet metal or PVC pipe for material input
5. Discharge Chute: For crushed material output
6. Pulley & Belt System (if not direct drive)
7. Fasteners & Welding Equipment (or bolts if welding isn’t an option)
—
Step-by-Step Construction:
# 1. Rotor Assembly:
– Cut a steel shaft to length (~12–24 inches, depending on chamber size).
– Weld or bolt impact hammers/bars to the shaft in a staggered pattern (4–8 hammers work well). Ensure they swing freely to maximize impact force.
– Mount the shaft on two pillow block bearings for smooth rotation.
.jpg) # 2. Crushing Chamber:
# 2. Crushing Chamber:
– Construct a cylindrical housing from steel plate or heavy pipe. Weld/seal one end closed (backplate).
– Line the inside with replaceable wear plates (optional for abrasive materials).
– Leave an opening at the bottom for discharge.
# 3. Feed System:
– Attach a hopper at the top of the chamber to guide material into the rotor’s path. Angle it to prevent clogging.
# 4. Discharge Setup:
– Add a chute or screen at the bottom to control particle size (e.g., mesh screen for fine grinding).
# 5. Power Connection:
– Connect the rotor shaft to the motor via a belt/pulley system or direct coupling. Adjust speed (~500–3000 RPM) based on material hardness.
.jpg) # 6. Frame & Stability:
# 6. Frame & Stability:
– Build