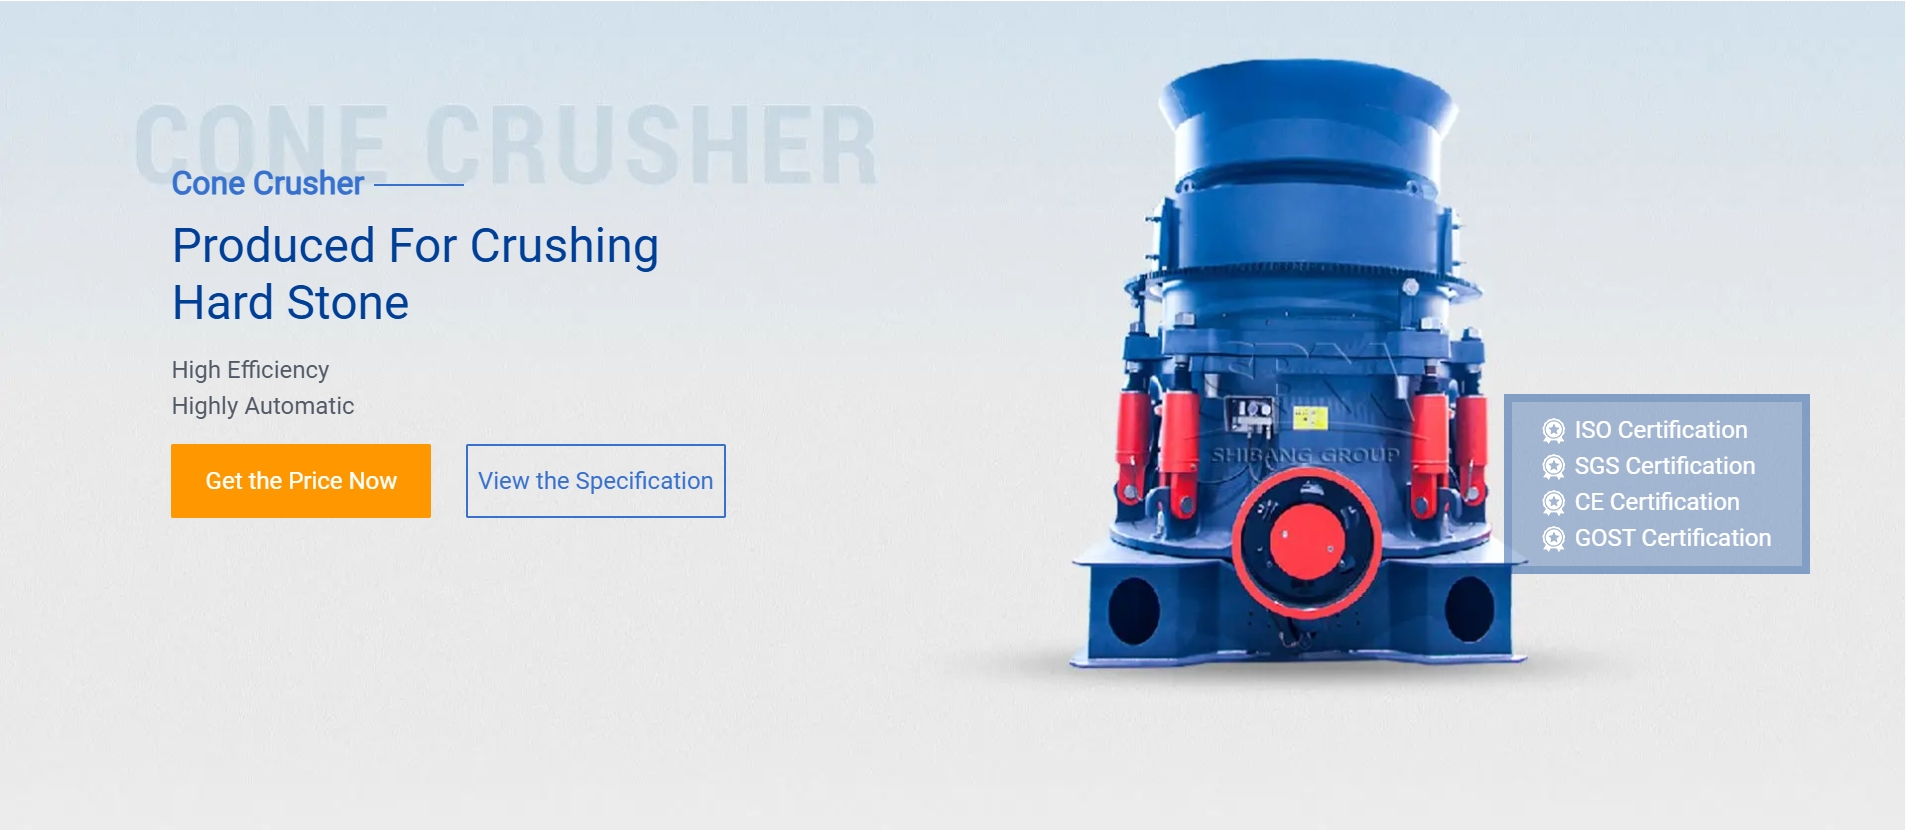

Installing a WW (Wide Wheel) Jaw Crusher requires careful planning, proper tools, and adherence to safety protocols. Below is a step-by-step guide for installation:
1. Pre-Installation Preparation
– Site Inspection: Ensure the foundation is strong, level, and vibration-resistant.
– Check Components: Verify all parts (crusher, motor, belts, bolts, etc.) are undamaged.
– Safety Gear: Wear PPE (helmet, gloves, safety glasses).
– Tools Required: Cranes, lifting slings, wrenches, alignment tools, grout mix.
.jpg) 2. Foundation & Base Frame Installation
2. Foundation & Base Frame Installation
– Foundation Requirements:
– Must be reinforced concrete (thickness depends on crusher size).
– Anchor bolts should be pre-set according to the manufacturer’s drawings.
– Place Base Frame:
– Use a cra.jpg) to position the base frame on the foundation.
to position the base frame on the foundation.
– Align it properly with anchor bolts.
3. Mounting the Jaw Crusher
– Lifting & Positioning:
– Use lifting lugs or slings to hoist the crusher onto the base frame.
– Ensure correct orientation (feed opening facing the right direction).
– Bolt Down:
– Secure the crusher to the base frame using high-strength bolts.
– Tighten evenly in a cross pattern.
4. Motor & Drive Assembly
– Install Motor: Mount the motor on its base with proper alignment.
– V-Belt/Pulley Setup:
– Check belt tension and alignment.
– Ensure sheaves are parallel and belts are not too tight or loose.
5. Electrical & Lubrication System
– Wiring: Connect motor power supply per electrical diagrams.
– Lubrication Lines: Install grease/oil lines to bearings and moving parts.
6. Final Checks Before Startup
– Bolt Tightness: Recheck all fasteners after initial settling.
– Clearances: Verify jaw plate gaps and toggle plate settings.
– Manual Rotation: Turn flywheel by hand to ensure no obstructions.
7. Test Run
– Start without material (empty run) for ~30 minutes:
– Listen for unusual noises/vibrations.
– Check bearing temperatures (<70°C).
– Gradually feed material and monitor performance.
8. Safety & Maintenance Reminders
– Never start without guards in